How to Design a Custom Beaded Bracelet Online in 5 Steps
Designing a bracelet on screen beats guessing on a stringing board: you can test a dozen colourways in the time it takes to re-string one, and you never cut cord until the design is final. Here is the five-step workflow we recommend.
Step 1: Start from the wrist, not the beads
Measure the wrist with a soft tape (or a strip of paper and a ruler) and add 1.5–2cm of ease. Run the number through the bracelet size calculator to get your target strand length and bead count.
Step 2: Pick one hero bead
Every memorable bracelet has one bead that leads – a colour, a texture, or a focal charm. Choose it first, then let everything else support it. If you start from spacers, you end up with a bracelet that looks like spacers.
Step 3: Build the pattern in the designer
Open the online bracelet designer and lay the hero bead in first. Work outwards in repeating blocks (A-B-A-C is a good starter rhythm) rather than placing beads one by one. The strand preview updates the total length as you go.
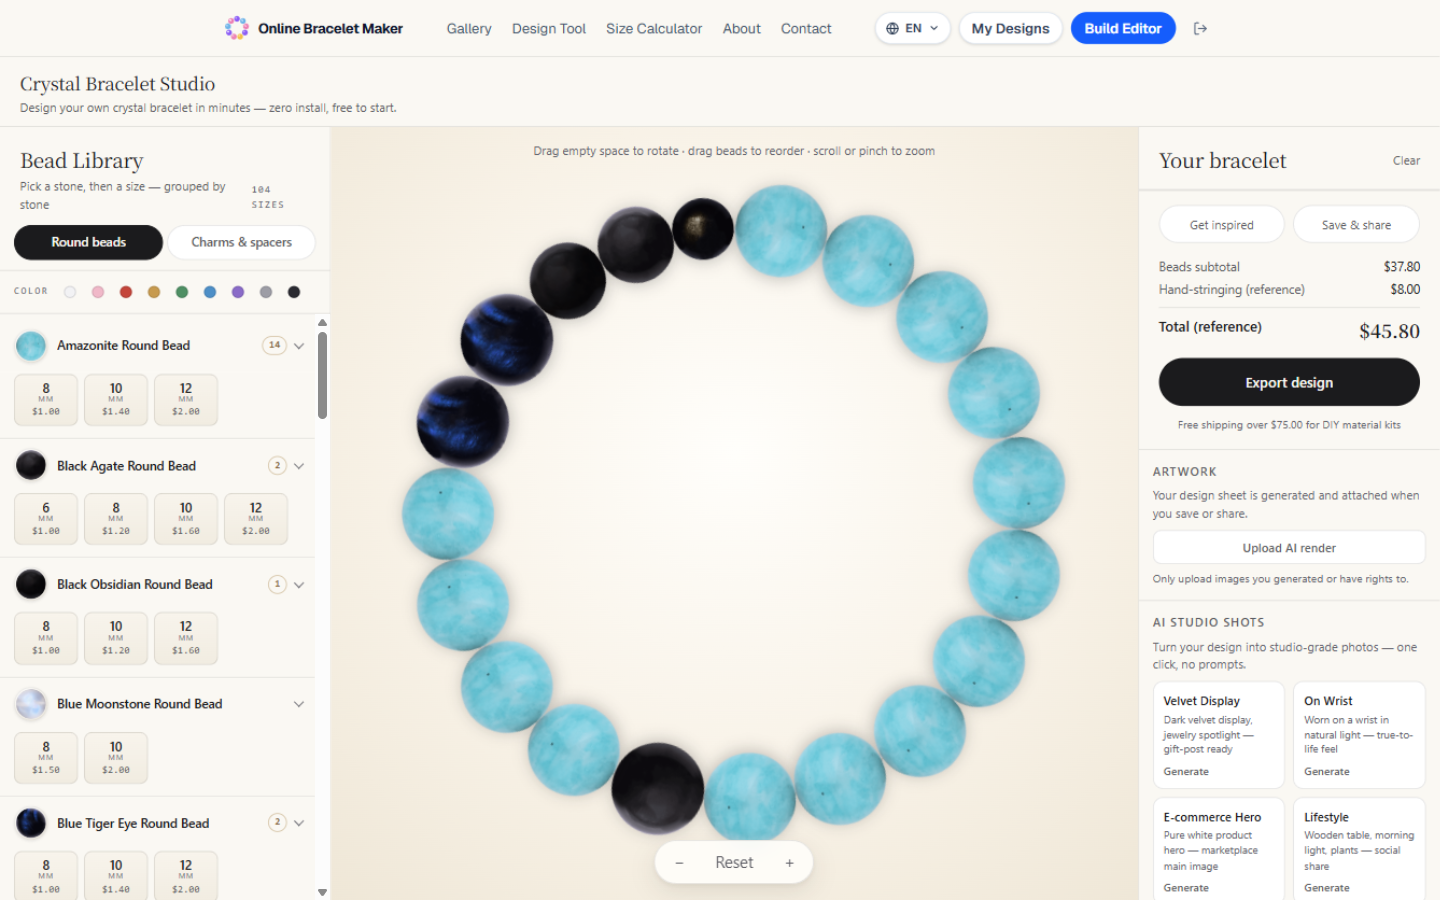
Step 4: Stress-test the colours
Squint at the screen. If the pattern turns to mush, contrast is too low – swap a neutral in. Photograph the design in black and white (or your phone's mono filter): good bracelets keep their rhythm even in grayscale.
Step 5: Export the build sheet and string once
When the preview looks right, generate the build sheet: bead counts, strand length, and order. Stringing from a sheet means you buy the right quantity and thread each bead exactly once – no mid-string redesigns.
Save your design, share it to the gallery if you are proud of it, and order the beads. The whole loop – idea to stringing plan – takes about ten minutes once you have done it twice.